Showing posts with label tutorials. Show all posts

Thursday, September 1, 2011

Easy Knitted Scarf with the Pattern

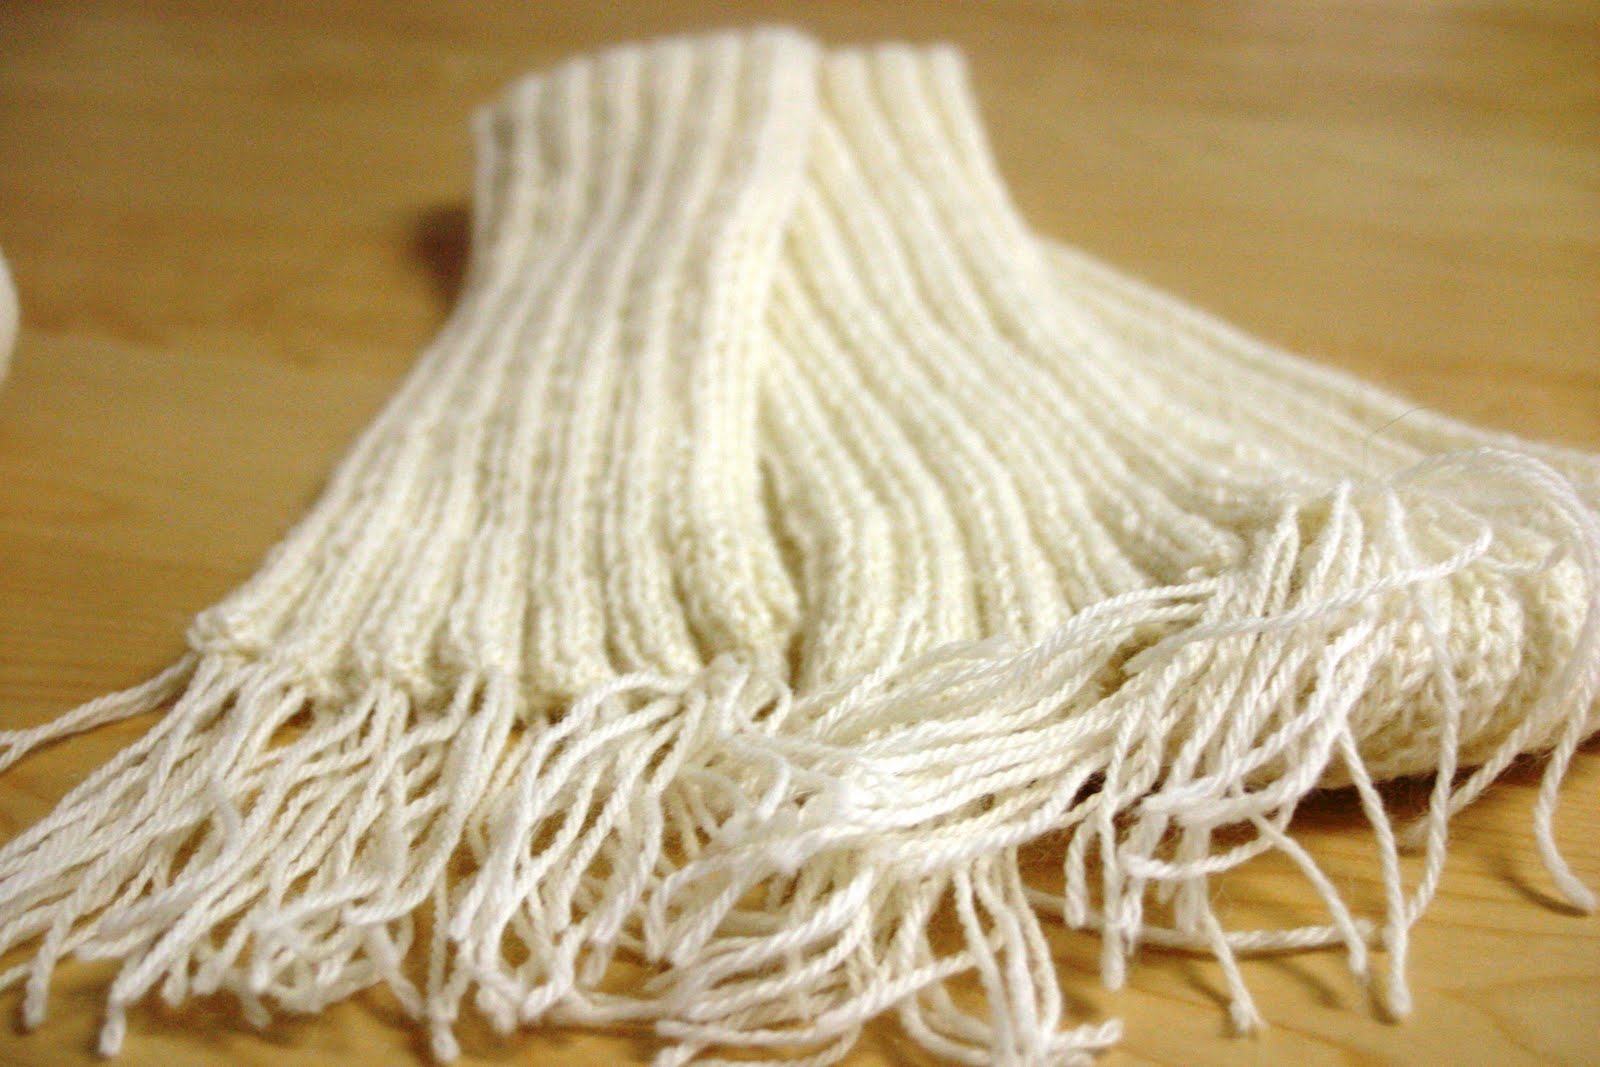
I knitted this scarf as one of the donations for the victims in Japan. It is a very simple design so that anyone can put it on!


Pattern

Finished Measurement
126cm (excluding fringes) x 9cm

Yarn
alpaca wool 80grams


Needles
One set of straight needles and one crochet hook ---3.25mm (US3)

Pattern
CO 60 sts.

Row 1: K4, P4. Repeat 14 times to end.
Row 2: P4, K4. Repeat 14 times to end.

Repeat Row 1 and 2 until piece measures 126 cm from the beginning, or until your favorite length.  BO.

Make Fringes
Cut 60 pieces of 30cm-length of yarn
Use crochet hook to hook fringes on each side.  30 pieces each

Adjust the length, and the number of pieces as you like!

Wednesday, March 2, 2011

Tubular Bind Off (twisted 1 x 1 rib) Tutorial

Tubular Bind off is always hard to remember. I learned this technique from my teacher the other day, but I can easily forget it. It's a little complicated for me.

Here, I want to share this with my great readers, and also it is a good note for me.

This time I knitted 1x1 twisted rib stitch for a few rows.

K2 P1 K1 P1 K1 P1 K1 P1 K1 P1 K1 P1 K1 P1 K2 (17sts in total)

1) Cut the yarn after knitting and use a thread needle. Insert the needle from left to right and take 2 stitches at once.


2) Pull the yarn.


3) Insert the needle into the 1st stitch from left to right.


4) Remove the stitch from the knitting needle and keep it on the thread needle.


5) Skip the 2nd stitch and insert the needle into the 3rd stitch from right to left.


6) Pull the yarn.


7) Insert the thread needle into the 1st stitch from right to left. Move the stitch onto the thread needle. The needle goes behind the 2nd stitch.


8) Now the stitch is moved to the thread needle. Insert the needle into the second stitch from the right side as if to knit. The needle comes from behind and insert it as if to knit.


9) Pull the yarn.


Repeat step 3) to 9) to last 2 stitches. Please remember that you always have one stitch on the thread needle during working.

Steps 3)to 6)are for knitted stitches and steps 7) to 9) are for purled stitches.


Last 2 stitches

10) Insert the thread needle from left to right. Two stitches together.


11) Pull the yarn.


This is how it looks like.


I hope it is clear enough.

Sunday, February 13, 2011

How to Fix Holes on Your Kimono.

What will you do if you find some holes on your favorite kimonos??? Will you go crazy? dump them?

STOPPPP!!!

Here is a way to wear your kimono again.

These days people never fix your clothes if it's torn or there is a hole on it because clothing isn't that expensive. Long way back, people used to fix holes on socks and wear them again!

Kimono was too expensive to buy for the people in old times, so they fixed and wore them again. (Well, it is still expensive though...)

Here is the way.

This is a wool kimono. Wool is especially in danger of being eaten by bugs!!


1)
Prepare fabric that matches the kimono. It's perfect if you have the excess fabric when you order the kimono. When you buy a new kimono and have it sewn, they will give you the excess fabric if there is.


2)
Cut a piece a little bigger than the hole.


3)
Place your kimono wrong side up.


4)
Cover the hole with the small piece.


5)
Pin it.
(sorry, the direction is strange but I couldn't fix it...)


6)
Thread a needle. Use your silk needle and silk thread. Otherwise, your kimono may be damaged for the thicker needle and thread.

7)
Sew zigs and zags all over the piece with tiny stitches.


Finished.

If the holes are small, people won't notice them.

So, in this way, I think the Japanese people have been able to keep many traditions until today.


However the holes are on the left front, you might want to give up fixing it unless the holes are small. Left front, which is called uwamae is considered the most beautiful part of kimonos, and people for who are wearing and who see people in kimono pay the most attentions on it. If you are wearing, you try to make uwamae looks great, and people who see you judges the value of your kimono by looking at your uwamae.

Kimono designers create beautiful paintings and consider how the uwamae looks beautiful. When the sewists sew, they organize where to bring the most beautiful pattern on the uwamae.

So, if even if the holes are fixed but your uwamae doesn't look good, you don't want to wear it to a party. Just wear it for grocery shopping as a casual kimono!

I hope it makes sense to you!

Wednesday, February 2, 2011

Knitted Men's Mittens (Free Pattern)

Men's Mittens Free Pattern!


I knitted mittens for my husband. It's getting colder and colder every day, but he didn't have mittens!

It was really easy to make.

PLEASE NOTE; I'm not a professional knitter and also English is my 2nd language. The instruction isn't perfect! But please try it out!


Size Men's Midium (22cm long)

gauge: 28sts X 12 rows

needles: circular needles US8 and US7
hook US8
*Note I use the magic loop method to knit in rounds. If you don't use this method, prepare double pointed needles.

a thread needle

yarn:brown 1 skein
beige a little
waste yarn a little

Hand

Prepare US8 hook. Use provisional cast on, CO34 with waste yarn. (You'll remove the yarn later.)

Row1-3: Knit 3 rounds with brown yarn.
Row 4: with beige color, K31, M1P, place a marker, K3.
Row 5: K35.
Row 6: Repeat Row 4.
Row 7: Knit 1 with brown yarn, Knit 1 with beige yarn. Repeat.
Row 8-10: Repeat Row4 and 5.

You have 40 sts.

Row 11:Rest 12 sts and knit 28 sts in round with brown yarn.
Knit 22 rounds or knit until piece measures 13cm.

K2tog repeat. You have 14 sts.
K2tog repeat. You have 7 sts.

Break yarn and thread through remaining sts.

Thumb
Take brown yarn.
Knit 8 rnds or 4cm.
K2tog You have 6sts

Break yarn and thread through remaining sts.

Cuff
Carefully remove the waste yarn and pick up 34 sts with circular needles.
With brown yarn, (1X1 Ribbing) Knit 1 Purl 1 repeat until piece measures 4cm.

Cut yarn and BO with tubular bind off.

Just make one more!!!


I'd like to thank Stitch Diva Studios, Savannachik, and Knitting Daily. They show us great instructions.

Tuesday, November 16, 2010

How to Fold Your Kimono

Ok, I'll show you how to fold your kimonos or yukatas. You can use this method for most of your kimono except furisode, children's or men's kimonos. This is good for regular types of kimonos for females.

I know many foreigners buy kimonos as their souvenirs or get some as some gifts. But do you know how to fold? If the material is polyester, it won't be a matter but you need to fold a kimono or a yukata properly if it is made of silk or cotton.

Here are the instructions. Please note my English isn't perfectly correct. I hope you can understand! Good Luck!

1. Lay your kimono on the clean floor.


2. Look at the kimono carefully. Do you see the line that is sewn together? (interfacing between a migoro and a okumi) You need to fold it toward the side.


3. Look at the collar. Now hold up the right collar and put it on the left one.


This is how it looks like now.


4.  This step is very important because if you mess it up, your kimono will look messy.
     Open this part and remove all the wrinkles.  Make sure to fold evenly from the center.  I pointed the left corner in the photo.


I'm holding the right corner.


Now the both sides match. and this shot is from the shoulder.


5.  Next step is to hold up the center and bring it towards you.


6. Now the sleeves.


Hold the right sleeve.


And place it on the left.


7. It's almost done! Ok, we are going to fold it into half. Do you see where to fold? Place your hand on the kimono and fold it into half.


This is how it looks like now.


9.  You have sleeves left.  Just turn the sleeves onto the kimono.  Flip the kimono carefully and repeat it for the other side of the sleeves.


10.  This is the last step.  Keep your kimono in tato-shi paper!  Well done!  


I hope it is clear enough for everyone. Now it is your turn! Try it out! If you have any questions on this, please contact me!