echino fabric always attracts me at a store. Needless to say the designs are cute. Very cute. They make me feel energetic. The combination of color usage and motifs makes the fabric perfect. Are you interested in the fabric? You can go to Purl SOHO now.
Today, I made a kid's apron out of echino fabric! Again! I mean "again." About a year ago, I made an apron with echino but a different design. This is the post you might want to check out! However, it became old so that I decided to make another one.
How do you like the fabric? Isn't it cute? My 3 year-old daughter keeps saying "tweet tweet apron!" I have some fabric left, so I'd like to make something else. If I have enough time, I'd love to share the pattern online later.
Wednesday, September 5, 2012
Monday, August 20, 2012
Done! The Yukata is Ready!
I've just finished this yukata a couple of days ago. This fabric was bought last summer and had been kept until this summer. I just didn't think I would finish it during the summer, so I kept it until this year. If you are interested, check out the old post here. Yes, summer is here! I am ready to sew and wear yukata!!!
It is of course hand-sewn! It took one and a half months to finish because I only had an hour or so every day. After all the children go to bed and finish up the housekeeping, I can spend my time on sewing. Also I think I am a slow sewer.
Before you start sewing, it is important to match the patterns. With matching, the kimono will look great; however, without matching the main motif might come on your back or even worse, the motif might be cut in half! Ouch! Decide which motif to come to the front, back or sleeves. Once you decide, it is time to cut the fabric!
After cutting up the fabric, it's time to mark and sew. This is the sleeve.
Time to start!
Curve a corner!
I would wear this yukata to the festival in the end of July, but I couldn't finish it. The next festival I could go was in the middle of August, and I finally finish it one day before the festival. I was so happy!
Which obi do you like? a reversible yellow obi(hakata)
a reversible blue obi(hakata)
a red obi
a black obi
Can't pick!
Next time I'd like to try combinations of the yukata and Nagoya obis for kimono.
Before you start sewing, it is important to match the patterns. With matching, the kimono will look great; however, without matching the main motif might come on your back or even worse, the motif might be cut in half! Ouch! Decide which motif to come to the front, back or sleeves. Once you decide, it is time to cut the fabric!
After cutting up the fabric, it's time to mark and sew. This is the sleeve.
Time to start!
Curve a corner!
I would wear this yukata to the festival in the end of July, but I couldn't finish it. The next festival I could go was in the middle of August, and I finally finish it one day before the festival. I was so happy!
Which obi do you like? a reversible yellow obi(hakata)
a reversible blue obi(hakata)
a red obi
a black obi
Can't pick!
Next time I'd like to try combinations of the yukata and Nagoya obis for kimono.
Thursday, May 24, 2012
A New Vest for My Little Boy
Yay! Summer is here! We don't need a jacket anymore here in the Tokyo area. It's been a while since I posted last time because my baby keeps me busy, and also I often bake bread at home these days. Now, my son will be almost 7 months old and he can turn. He loves to move around but can't move much yet. I need to watch him more carefully not to touch anything dangerous or not to go anywhere I don' want him to go.
Anyway, this is my second vest from "Last-minute Gifts" that I knitted. The yarns are used some of my stash yarns. It's wool and cute green color for a boy.
I know it's summer but I wanted to knit a vest. Well, it didn't have to be a vest but I just had enough yarns for a vest. Also, I thought it would be nice to knit something in advance just in case I don't have time to knit anything in the fall. It'll be good for around 1-year-old boy and hopefully it won't be too small for him. I want him to grow bigger but not too much at the same time!! hehe Now, what should I make next?
Monday, February 6, 2012
The Bagel Day
My son turned 3 months old last week. He can now drink breast milk better than before. He saves my time now so that I can spend my time on more house keeping and so on. At night he sleeps longer so that he saves my sleeping time as well. Yay, I feel more energetic! Today I baked raisin bagels while my kids were sleeping in the afternoon. Lots of busy moms in the world think the same way as me, don't you think?
Recently my husband craves for any bread! Since we have rice for breakfasts and dinners, and he brings his o-bento with rice every day, he never has bread on weekday. On the other hand, my daughter and I often have some bread for lunch. He is craving for breadddd! So, a rainy cold day like today was great day for baking some for him.
Hmmm...what should I bake? That's the question. It has to be something easy and healthy. Oh, and it shouldn't take long and much ingredients. Then bagels comes into my mind.
I added a lot of raisins. The bagels were smaller than they were supposed to be. What was se wrong with it? Probably I didn't shape well. I should have stretch the dough to make a ring, i guess. Hmmm... But it tasted good! my husband also liked the bagels.
The next day was raining again. It even rained harder, so I baked bagels again!! The weather was a good excuse for me to bake.
I think it turned out better this time. These were a sesame flavor. When they came out from the oven, the flavor of roasted sesame caught everyone's attentions. Yummmm! What a productive day it was!
Wednesday, October 19, 2011
Breech Position of the Baby
My baby has been at the breech position more than a month. His head should be at the bottom of of the womb by now to come out. My dear, you'll be out the world within a month, do you know that? Get ready for your head-down position now!!!
If not, I'll have to go under a caesarean section in a few weeks but I don't want to! Since last month, I have been looking for ways to solve the problem and found some, like moxibustion, an exercise, and an cephalic version. First, I ran to a pharmacy and got a box of moxibustion and tried them out at home. The baby didn't turn as he was supposed to even after a week so that I decided to ask for a professional. That was a beautiful autumn day when o had the appointment with the doctor but turned out a bad day.
I had a brief check up before the doc would have the medical exercise on me( is it a right expression?). What he told me was that I should go back to my original hospital right away for the baby was ready to come out. It was a month ahead of expected day. Anyway, I ran yo my hospital by taxi and couldn't have my baby turned at all. What happened was that I was told by my doctor here that they would keep the baby in me another 2 weeks until the bay was fully grown up. Ten days after that day, I had a c-section and after another ten days finally I was able to go home!!! Yay!!!! I was so happy to go home with my new baby!
Now he can't drink breast milk well but is getting better. I've been super busy since back in november and my two kids has made me happy every day!!!
Tuesday, September 13, 2011
Two Knitted Bonnets!
As I mentioned before, I like the book called "More Last-Minute Knitted Gifts" and knitted two bonnets from the book. It was a pretty short work to get them done so that I made two. The pink one was supposed to be donated and the yellow and my daughter was going to be wear the yellow and white bonnet; however, the yellow and white one became better than the pink one! I know why! It was just because the pink bonnet was my first work.
The yarn: Warm! Warm! (Yokota) 2 skeins (Well, 1.5 skeins are enough.) The needle: JP8 or similar size, I prefer a circular needle rather than regular knitting needle because the long sticks doesn't bother me at all! This pink is very girly!
Here I made a striped bonnet.
The yarn: Warm! Warm! (Yokota) 2 skeins (Well, 1.5 skeins are enough.) The needle: JP8 or similar size, I prefer a circular needle rather than regular knitting needle because the long sticks doesn't bother me at all! This pink is very girly!
Here I made a striped bonnet.
Thursday, September 1, 2011
Easy Knitted Scarf with the Pattern
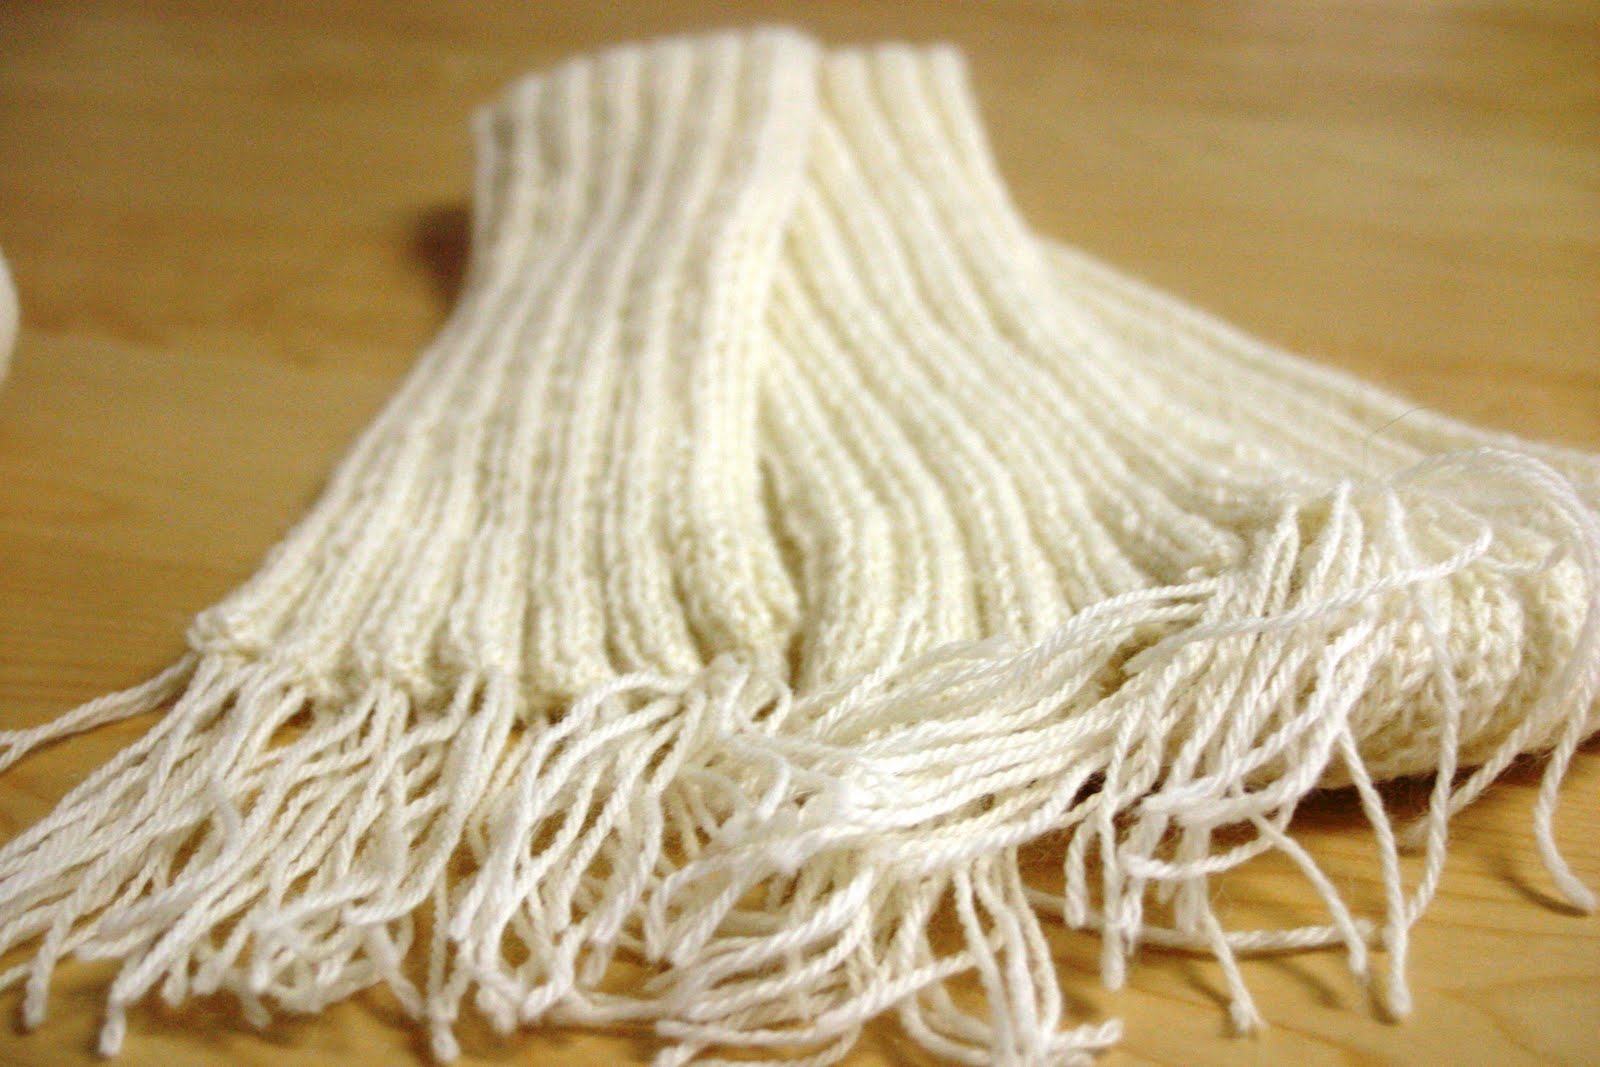
I knitted this scarf as one of the donations for the victims in Japan. It is a very simple design so that anyone can put it on!
Pattern
Finished Measurement
126cm (excluding fringes) x 9cm
Yarn
alpaca wool 80grams
Needles
One set of straight needles and one crochet hook ---3.25mm (US3)
Pattern
CO 60 sts.
Row 1: K4, P4. Repeat 14 times to end.
Row 2: P4, K4. Repeat 14 times to end.
Repeat Row 1 and 2 until piece measures 126 cm from the beginning, or until your favorite length. BO.
Make Fringes
Cut 60 pieces of 30cm-length of yarn
Use crochet hook to hook fringes on each side. 30 pieces each
Adjust the length, and the number of pieces as you like!
Pattern
Finished Measurement
126cm (excluding fringes) x 9cm
Yarn
alpaca wool 80grams
Needles
One set of straight needles and one crochet hook ---3.25mm (US3)
Pattern
CO 60 sts.
Row 1: K4, P4. Repeat 14 times to end.
Row 2: P4, K4. Repeat 14 times to end.
Repeat Row 1 and 2 until piece measures 126 cm from the beginning, or until your favorite length. BO.
Make Fringes
Cut 60 pieces of 30cm-length of yarn
Use crochet hook to hook fringes on each side. 30 pieces each
Adjust the length, and the number of pieces as you like!
Subscribe to:
Posts (Atom)